How to Wet Block Your Knitting in 10 Steps
As a knitting store owner, I often get asked about the best ways to finish a knitting project. One of the most effective techniques is wet blocking. Wet blocking is a finishing process that helps shape and set your knitted item to its final dimensions and can greatly enhance the appearance of lace and other intricate stitch patterns. Here's a step-by-step guide on how to wet block your knitting:
-
Gather Your Supplies: You'll need a basin or sink for water, a mild detergent or wool wash, towels, rust-proof pins, and blocking mats or a flat surface that can withstand moisture.
-
Finish Your Knitting: Ensure that all knitting is completed and ends are woven in. Avoid cutting yarn tails too short, as they might unravel during the blocking process.
-
Prepare the Water: Fill your basin with lukewarm water. Avoid hot water as it can cause wool to felt. Add a small amount of wool wash according to the product instructions.
-
Submerge Your Knitting: Gently place your knitted item in the water. Let it soak thoroughly until completely saturated, usually about 15-20 minutes. Avoid agitating the fabric to prevent felting.
-
Drain and Rinse (if necessary): Carefully drain the water and rinse your item if your wool wash requires it. Some wool washes do not require rinsing.
-
Remove Excess Water: Lift your item out of the water and gently squeeze out excess water. Avoid wringing or twisting. Then, lay it flat on a towel, roll it up, and press down to remove more water.
-
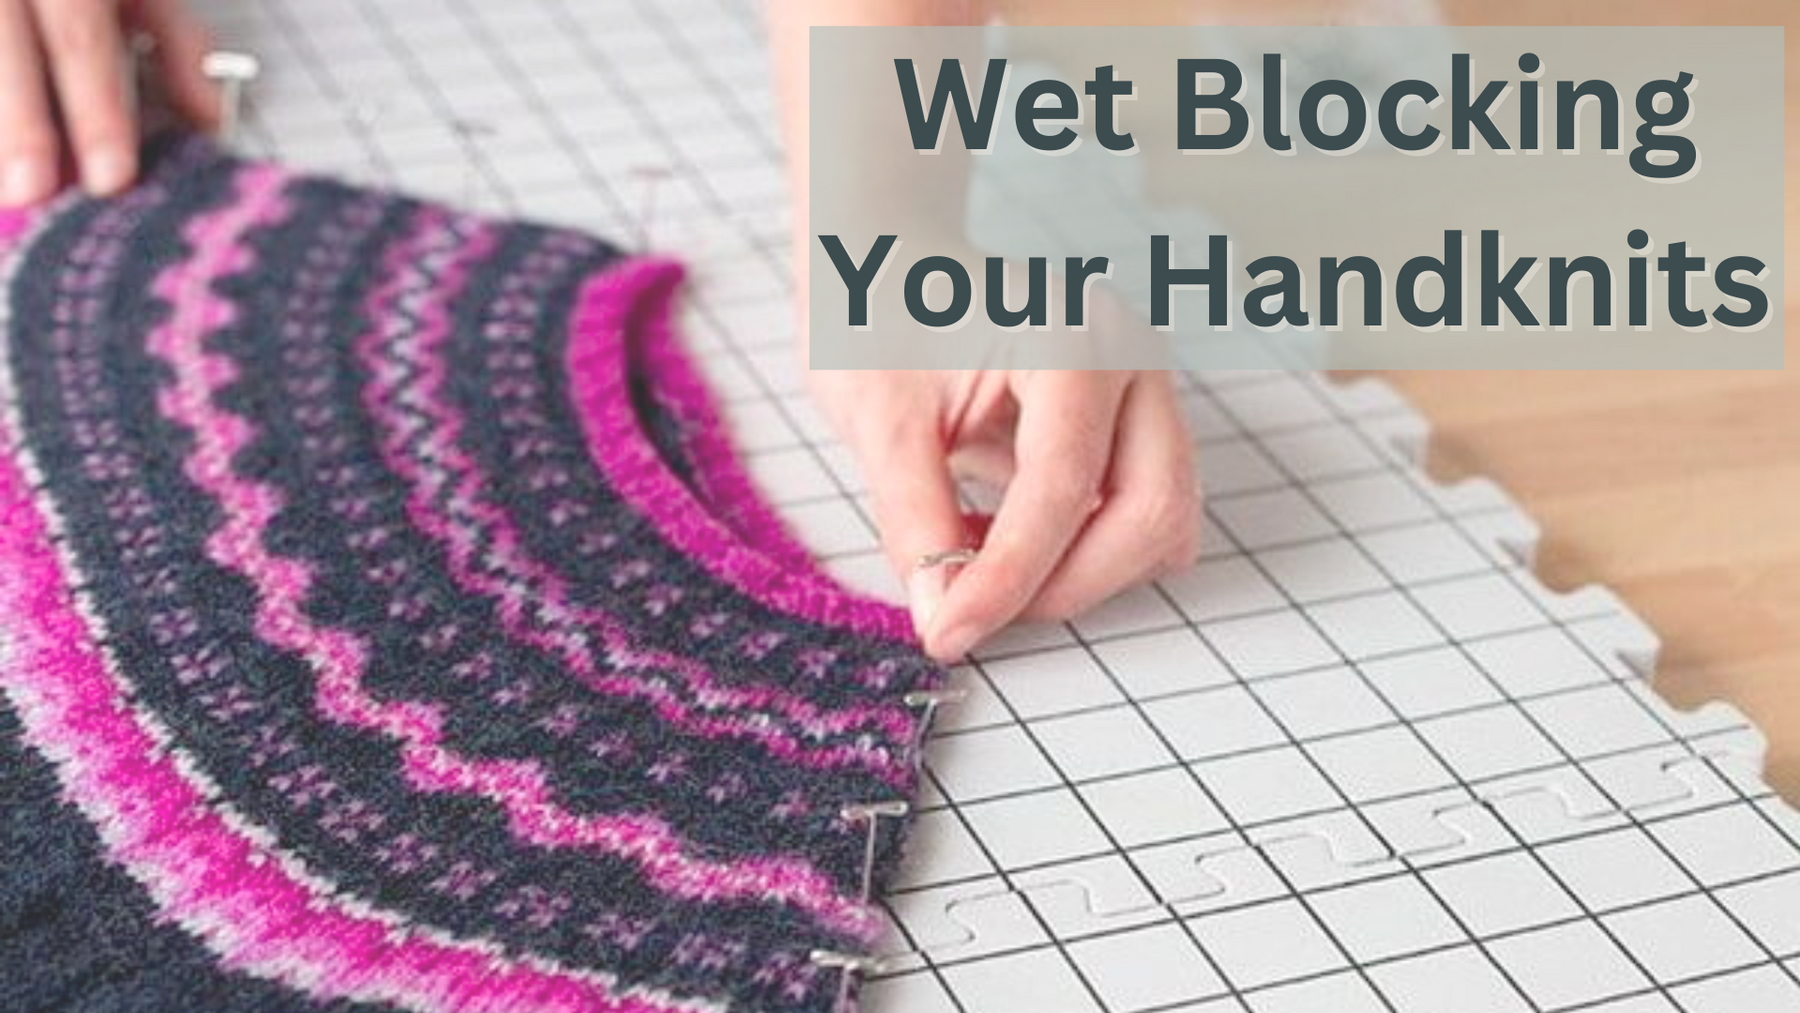
Lay It Out: Place the item on blocking mats or any flat, moisture-resistant surface. If your piece is a garment, arrange it to the correct size and shape based on your pattern's specifications or personal measurements.
-
Pin It Down: If necessary, use rust-proof pins to hold the item in the desired shape. This step is crucial for lace or designs that need to open up.
-
Let It Dry: Allow your piece to dry completely, which can take anywhere from several hours to a couple of days, depending on the material and thickness.
-
Check and Unpin: Once dry, carefully remove the pins and check your work. Your knitted item should now hold its shape and show off its patterns and stitches beautifully.
Remember, each type of yarn might react differently to wet blocking. Always do a test on a swatch, especially if you are working with blends or more exotic fibers. Wet blocking is a game-changer in finishing your knitting projects, and I encourage all knitters to give it a try!
Leave a comment